

How to Grow Garlic
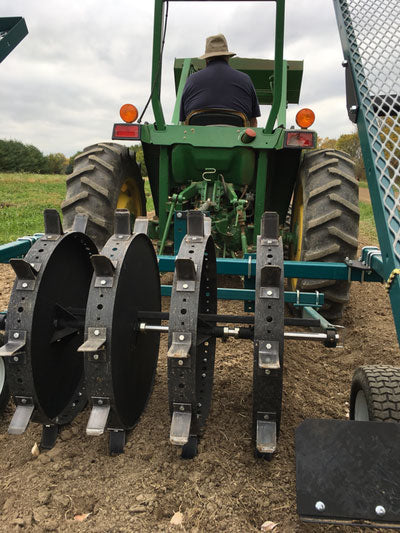
Successful growing garlic starts with good soil preparation. Garlic prefers a loamy soil with a ph in the range of 6.2 and 7. A reading lower than this means your soil is too acidic. Apply a little lime to correct for over acidity. Now you want to add compost or humus to your soil which creates a good growing environment. Prepare your soil to a depth of approximately 12 inches.
To encourage the Fall planted garlic to send out roots we add a feeding of low nitrogen at planting and higher nitrogen in the Spring. We farm organically and use composted chicken manure or blood/bone meal. We do not use commercial fertilizers or pesticides. To improve the quality of your soil you can work in compost, aged manure, well-rotted straw or peat moss. Growing and turning in a cover crop before planting adds lots of organic material. A good cover crop for garlic is Alfalfa, Hairy Vetch, Buckwheat and Red Clover. All of these methods will improve your soil and grow a healthier crop. It’s also important to rotate your allium crops to reduce the risk of disease or pest. We rotate on a 4 year rotation method.
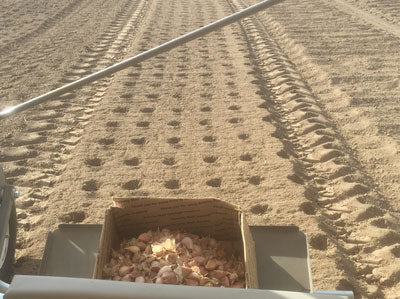
Plant garlic after the first frost, once the soil has cooled, but several weeks before the ground freezes hard. A hard ground freeze is when a shovel will no longer penetrate the soil.
For us in Zone 6, that generally means planting in mid to late November.
Planting too early can cause unwanted top growth, while planting too late may not allow enough time for roots to develop.
The goal is good root growth, not excessive green growth. This helps prevent garlic from heaving during winter freeze-and-thaw cycles.
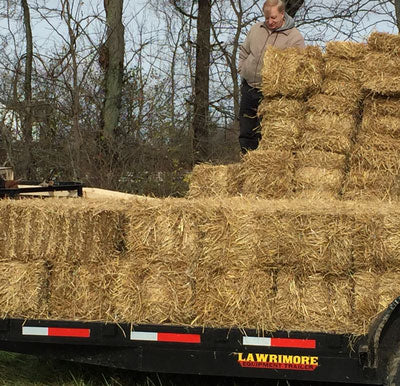
Mulching after planting
We mulch our garlic with straw after the first freeze. This prevents frost heave and keeps the weeds to a minimum come Spring. Choose mulch that’s free of weed seeds. Garlic competes poorly with weeds and you can quickly find yourself inundated with weeds and lose the garlic that is being robbed of nutrients by the productive weeds. If your blanket of mulch is heavy, you may need to brush it away to allow a struggling shoot to come thru come Spring.
Feeding the Garlic
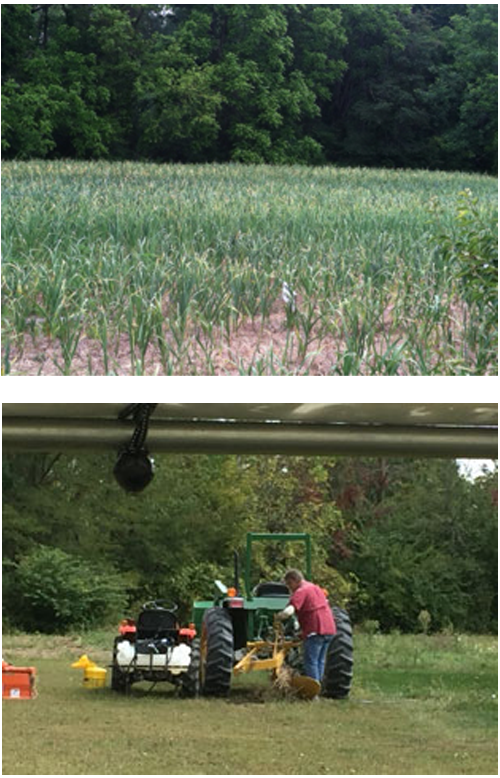
What you use for fertilizer should depend on what your soil needs to grow great garlic. You can have your soil tested by your local ag extension office as well as numerous universities if you choose. We apply a low nitrogen organic natural fertilizer in the Fall to allow for root growth and not leaf growth. In the Spring you can apply a higher nitrogen or several foliar feeds. Once scapes appear we stop all feeding so the plant can put energy into bulbing.
We apply a low-nitrogen fertilizer, to the soil, in the Fall a few weeks prior to planting. In the Spring when the garlic is about 6 inches in height we begin to apply a liquid fish/ kelp foliar feed that is higher in nitrogen q 10-14 days. Once the garlic reaches about 12 inches in height we apply a 16-0-0 feed. Once scapes appear we stop all feeds.
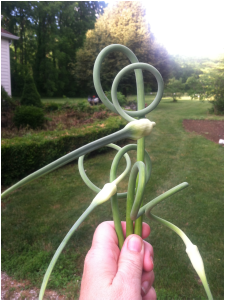
To Scape Or Not To Scape
In late May the Hardneck garlic plants send up a flower stalk called a scape. It lengthens and then curls as it matures and if left on the plant it will straighten and become woody. If left in place it will develop a mass of tiny bulbils. Most growers cut off the scapes to allow the plant to direct all of its energy into bulbing rather than developing the bulbils. The scapes are generally removed once they curl and are edible and delicious. If you’re growing garlic for the first time, you might want to leave a few scapes intact so you can see how they develop. You can choose to plant the bulbils for next years green garlic or sprinkle the bulbils in with your stir fry or in a salad. They are delicious.
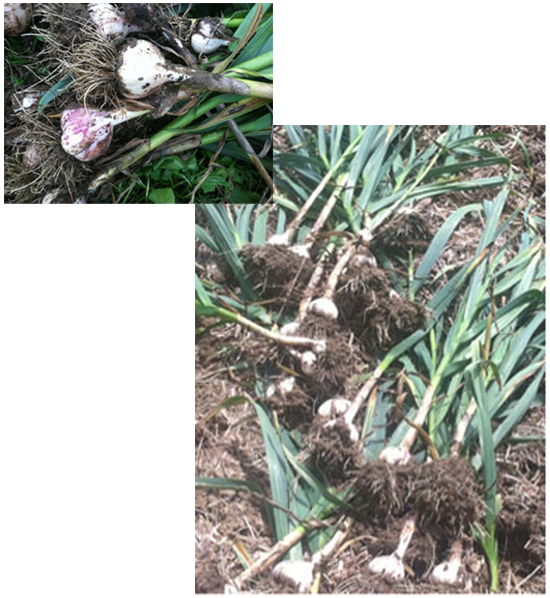
Harvest
Usually growing garlic on our farm develops 10 to 12 leaves by mid-June. As the garlic plants mature, the lower leaves begin to turn brown, shrivel up, and fall off the plant one by one. We plan for harvest when 5-6 green leaves remain. Each green leaf represents a wrapper or skin you’ll have on the cured bulb. To test bulb size prior to harvesting you can push aside the soil around a few bulbs to assess bulb development and size. You will also be able to see if the bulb has clove divisions which signal bulb maturity. If left too long in the ground with the green leaves continuing to shrivel, the garlic wrappers are lost and the bulbs will open allowing for dirt and potential disease and pest to enter the bulb. If that happens, just use up those cloves first because they won’t last as long in storage.
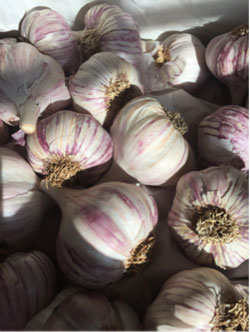
Drying Cleaning and Storage
Although you can enjoy the fresh garlic immediately after harvest–and it has a great juicy texture that lasts only for two or three weeks–Most garlic needs a chance to dry out for storage. That drying process is called curing. Give the freshly harvested garlic good ventilation and low humidity during the curing process. We leave the stalks on and hang the garlic to dry for 3-4 weeks. You can also trim the stalks to about 12 inches for curing on well-ventilated wire racks in a well-controlled curing area. The curing process allows the wrappers and the skin around the cloves and the cloves themselves to all dry at about the same rate so the cloves are tightly protected and healthy for the longest possible shelf life. When the garlic has finished curing you can trim the stalks for storage.
Storage is best in a cool dry environment away from direct sunlight. Storage temperature around 50-55 degrees will allow the garlic to store well and longer. Do not refrigerate your garlic. We have found a garage along the inside wall that stores our garlic optimally.
The Celebration


